
How to Level Ground for a Pool Without Digging
Planning to install a pool in your backyard but want to avoid going through the hassle of digging? You’re in luck! In this article, we’ll guide you through how to level ground for pool without digging. By following these steps, you’ll be able to create a stable and even surface for your pool installation, ensuring a safe and enjoyable swimming experience for years to come.
Before diving into the details, let’s understand the importance of proper ground leveling when setting up a pool. A level surface is crucial for the pool’s structural integrity, as it helps distribute the weight evenly. By following the right techniques, you can avoid issues like water accumulation, potential damage to the pool, and an uneven swimming experience.
Assessing the Site
The first step in leveling the ground for your pool is to assess the site. Here are a few key considerations to keep in mind:
Choosing the Pool Location
Selecting the right location is essential for both safety and convenience. Look for an area in your backyard that receives ample sunlight and is easily accessible. Avoid placing the pool near trees or overhead power lines to prevent potential hazards.
Evaluating the Ground
Thoroughly examine the ground where you plan to install the pool. Check for any existing slopes, bumps, or depressions. Identifying these irregularities will help you determine the amount of leveling required.
Checking for Obstacles
Take note of any underground utility lines or pipes that might be present in the area. Contact your local utility company to mark the locations of these lines before you start any excavation or leveling work. Safety should always be a top priority.
Determining the Leveling Method
Once you’ve assessed the site, it’s time to choose the most suitable leveling method for your situation. Here are a few common techniques to consider:
Using Fill Dirt
One popular method is using fill dirt to even out the ground. This involves adding and compacting soil in low spots to raise the surface. However, it’s important to use quality fill dirt and properly compact it to ensure long-term stability.
Creating a Retaining Wall
If you’re dealing with significant slopes, constructing a retaining wall might be necessary. This method involves building a sturdy wall to hold back the soil and create a level area for the pool. It’s recommended to consult a professional for this technique.
Using Concrete Slabs
Concrete slabs provide a solid and durable surface for your pool. This method requires pouring and leveling concrete to create a flat base. While it may be more expensive and time-consuming, it offers a long-lasting solution.
Gathering the Necessary Tools and Materials
Before starting the leveling process, ensure you have all the required tools and materials. This may include a shovel, rake, wheelbarrow, measuring tape, level, fill dirt or concrete, retaining wall blocks (if applicable), and sand for the final layer.
Preparing the Site
Proper preparation is essential for achieving an even surface. Follow these steps to get your site ready for leveling:
Clearing the Area
Remove any vegetation, rocks, or debris from the designated pool area. Clearing the site will make the leveling process easier and prevent potential damage to the pool.
Marking the Pool’s Perimeter
Using stakes and string, mark the pool’s outline on the ground. This will help you visualize the area that needs to be leveled and provide guidance during the process.
Leveling the Ground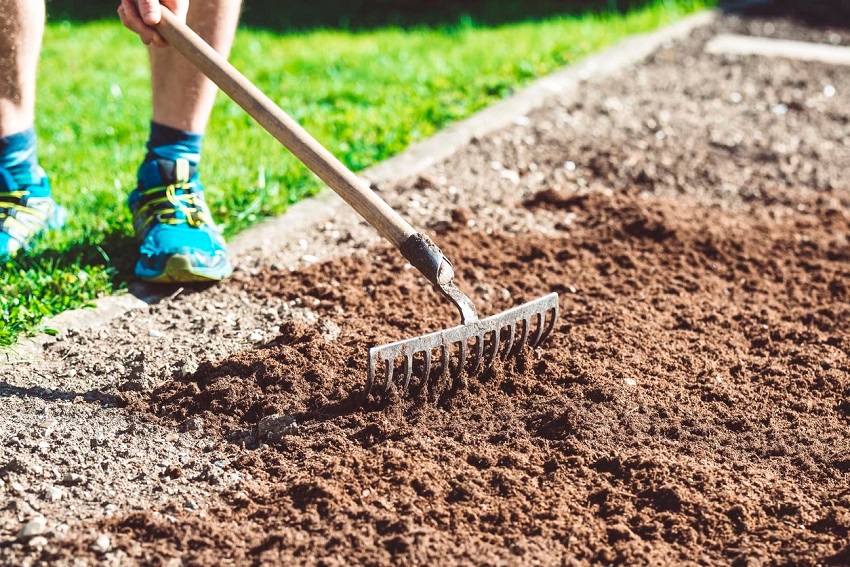
Now it’s time to level the ground. Follow these steps to ensure a smooth and stable surface:
Excavating High Spots
Start by removing excess soil from high spots within the pool area. Use a shovel or a small excavator to carefully dig out the soil until you reach the desired level.
Filling in Low Spots
Next, fill in any low spots with filled dirt or compacted soil. Gradually add the material and tamp it down firmly to prevent future settling. Use a level to ensure the surface remains even.
Compact the Ground
After filling in the low spots, compact the ground using a hand tamper or a plate compactor. This step helps increase the stability and load-bearing capacity of the leveled surface.
Final Steps
With the ground level, it’s time to finish up the preparation for your pool installation. Here are a few essential final steps:
Adding a Layer of Sand
Spread a layer of sand over the leveled ground. The sand provides a smooth surface and helps with minor adjustments during the pool setup process.
Ensuring Proper Drainage
Check that the leveled area has adequate drainage to prevent water from pooling around the pool. Proper drainage is essential for maintaining the integrity of the pool and preventing damage.
Checking the Level
Double-check the level of the ground before proceeding with the pool installation. Use a level to verify that the surface is flat and even. Making adjustments at this stage will save you potential headaches in the future.
Conclusion
Leveling the ground for a pool without digging may require effort, but it’s a worthwhile investment. Following the steps outlined in this article can create a stable and safe foundation for your pool. Remember to assess the site, choose the appropriate leveling method, and carefully prepare and level the ground. You’ll enjoy a more enjoyable and long-lasting pool experience with a leveled surface.


Post Comment