How to Shingle a Hip Roof
Shingling a hip roof is akin to putting the finishing strokes on a masterpiece. In this guide, we’ll explore the ins and outs of this essential step in roofing. From choosing the right shingles to nailing down the technique, let’s dive into the world of crafting a stylish and durable hip roof.
The Foundation: Choosing the Right Shingles
1. The Shingle Selection Dilemma The market offers a plethora of shingle options— asphalt, wood, metal, and more. Consider your budget, climate, and aesthetic preferences when choosing the right shingles. This decision sets the tone for the entire roof.
2. The Role of Underlayment Before the shingles take the stage, the underlayment plays a crucial role. It acts as a secondary barrier against water, providing an extra layer of protection for your roof. A high-quality underlayment ensures durability and resilience.
The Technique: Shingling Like a Pro
3. Starting at the Bottom: The Eaves Begin shingling at the eaves, ensuring the first row aligns perfectly. This foundation sets the rhythm for the entire hip roof. A straight and even start is your key to a visually appealing and structurally sound roof.
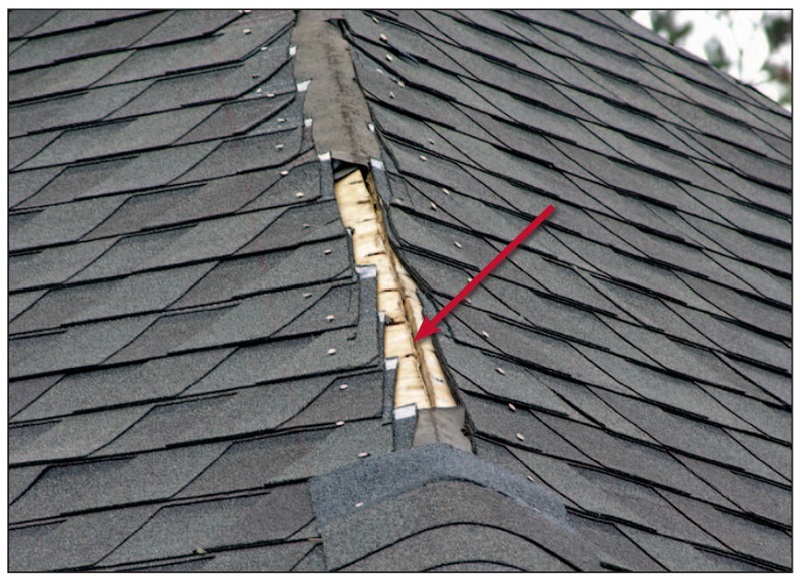
4. Navigating the Hip Ridge Shingling the hip ridge requires precision. Cut the shingles to fit the angles of the hip ridge, creating a seamless transition. This step demands patience, as it’s the pinnacle where all sides of the roof converge.
Overcoming Challenges: Valleys and Dormers
5. Conquering Valleys with Weaving Technique Valleys pose a challenge in water runoff. Master the weaving technique—alternating shingles from each side—to ensure proper drainage and prevent leaks. This technique enhances both functionality and aesthetics.
6. Dormers: The Art of Integration Integrating shingles around dormers requires finesse. Cut shingles to fit the unique angles and shapes, ensuring a cohesive and watertight connection between the dormer and the main roof.
Nail It Right: Installation Tips
7. Proper Nailing: The Goldilocks Zone Nailing is an art. Too loose, and your shingles may lift in the wind; too tight, and they might crack. Find the sweet spot—secure enough to withstand the elements but not overly tight to compromise the shingle’s integrity.
8. The Importance of Overlapping Overlapping is your shield against water infiltration. Ensure each shingle overlaps the previous one correctly. This not only provides extra protection but also enhances the overall aesthetic appeal.

FAQs (Frequently Asked Questions)
Q: Can I shingle a hip roof by myself?
While it’s possible, roofing is a demanding task. Hiring professionals is recommended for the best results and to ensure the warranty on your shingles remains valid.
Q: What is the lifespan of asphalt shingles?
Asphalt shingles, a popular choice, typically last 20-30 years. However, proper installation and maintenance can extend their lifespan.
Q: How do I prevent moss and algae on my shingles?
Regular cleaning and treatment with zinc or copper strips can prevent moss and algae growth, preserving the appearance and durability of your shingles.
Q: Is it okay to shingle over old shingles?
It’s not recommended. While it might save time, shingling over old shingles can compromise the new installation and lead to issues down the line.
Q: Can I walk on a newly shingled roof?
It’s best to avoid walking on a newly shingled roof if possible. If necessary, take extreme caution and step on the lower parts of the roof to prevent damage.
Conclusion:
Shingling a hip roof is the grand finale of your roofing project. By choosing the right materials, mastering techniques, and overcoming challenges, you’re not just crafting a roof – you’re creating the crowning glory of your home.


Post Comment