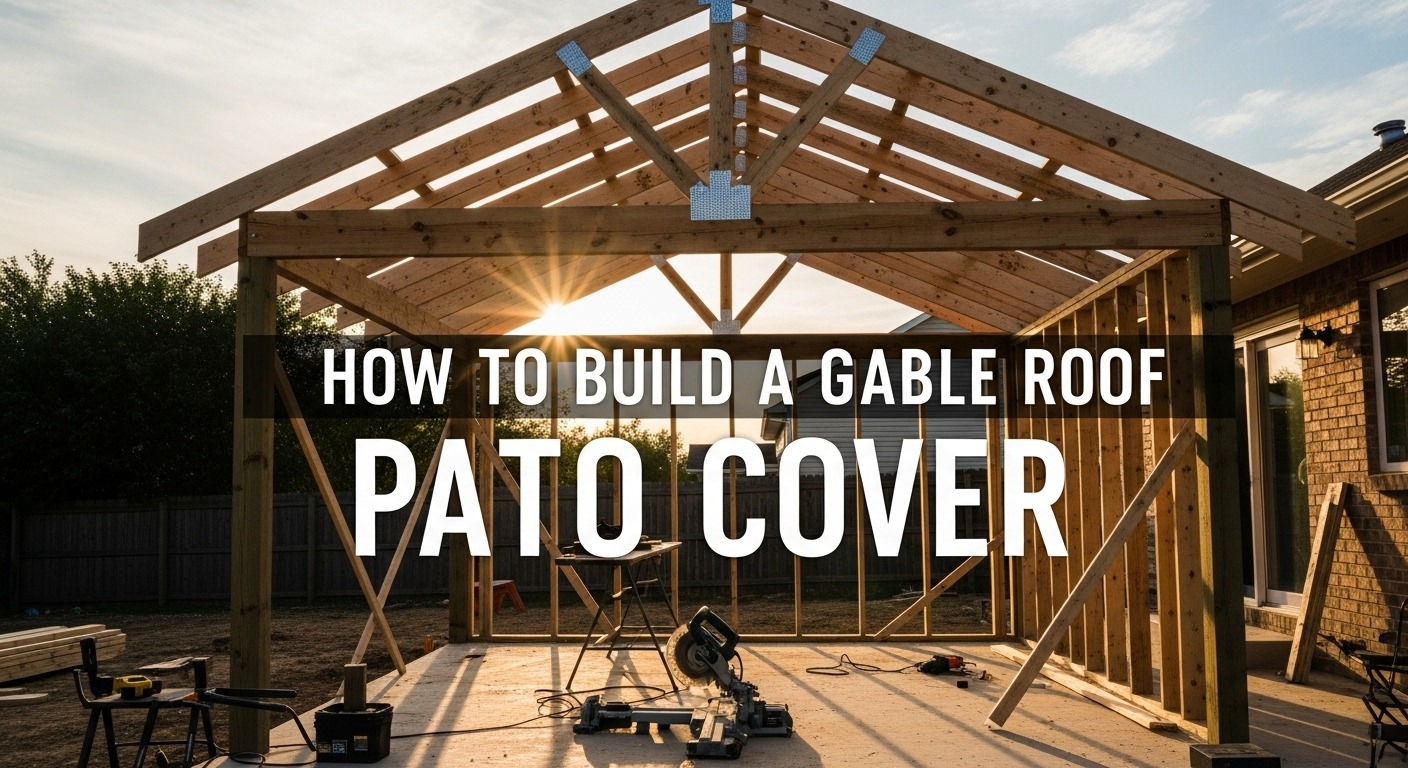
How to Build a Gable Roof Patio Cover: Step-by-Step Guide for Homeowners
Building a gable roof patio cover transforms an ordinary backyard into a stunning outdoor living space. Imagine sipping coffee under a beautiful pitched roof while rain taps gently overhead. Homeowners across the country love this classic design because it sheds water fast, looks timeless, and feels more open than flat or hip roofs. According to the U.S. Census Bureau, attached patio covers remain one of the top five most popular home improvement projects year after year. Ready to create your own shaded retreat? Let’s dive in.
Why Choose a Gable Roof for Your Patio Cover?
A gable roof features two sloping sides that meet at a ridge, creating those elegant triangular gable ends everyone recognizes. This style stands out for several reasons.
First, water and snow slide off easily, which extends the life of your structure. Second, the higher center height gives an airy, spacious feeling perfect for entertaining. Third, it matches almost any home architecture—ranch, colonial, craftsman, or modern farmhouse.
Moreover, natural ventilation flows better under a pitched roof, keeping summer gatherings cooler. Many families report using their outdoor space 70% more after adding a gable-style cover, according to a 2024 remodeling impact survey.
Planning and Design Tips Before You Start
Successful projects begin long before the first nail. Careful planning saves time, money, and headaches.
Start by measuring your patio area accurately. Decide whether you want a freestanding or attached structure. Attached covers tie directly into your house and usually require fewer posts. Freestanding versions offer placement flexibility but need four or more columns.
Next, sketch your design. Keep the roof pitch between 4:12 and 6:12 for the best look and drainage. A 5:12 pitch feels balanced on most homes.
Then, check local building codes and HOA rules. Many municipalities require permits for structures over 120 square feet. Submit detailed drawings that show footing depth, beam sizes, and connection details.
Finally, think about extras—ceiling fans, recessed lighting, skylights, or even an outdoor kitchen underneath.
Essential Tools and Materials List
Gather everything before day one. Having the right tools makes the job smoother and safer.
Tools You’ll Need
- Circular saw and miter saw
- Impact driver and drill
- 4-foot level and laser level
- Hammer and framing square
- Chalk line and tape measure
- Ladders and scaffolding
- Safety gear—hard hat, glasses, gloves, ear protection
Common Materials
- Pressure-treated posts (6×6 or 4×6)
- Douglas fir or engineered beams and rafters
- Metal hurricane ties and post bases
- Asphalt shingles or metal roofing panels
- Plywood sheathing (⅝-inch recommended)
- Flashing, drip edge, and sealant
- Concrete for footings
Choose materials rated for outdoor exposure. Using treated lumber and galvanized hardware prevents rot and rust for decades.
Step 1: Mark and Dig Footings
Accurate footings keep your patio cover standing for generations.
Begin by marking post locations with stakes and string lines. Double-check that everything stays square by measuring diagonals—they must match exactly.
Most codes require footings 12–36 inches deep, depending on frost line. In cold climates, go below frost depth to prevent heaving.
Dig holes with a post-hole digger or rent a power auger for speed. Make each hole twice the diameter of the post base. Add 6–8 inches of gravel for drainage.
Step 2: Pour Concrete Footings and Install Posts
Strong footings equal a strong roof.
Pour concrete into each hole and insert a post anchor bolt or metal base while wet. Level the anchor carefully. Let concrete cure at least 48 hours—seven days is better.
Cut posts to exact height using a laser level. Install them plumb and brace temporarily. Secure posts to metal bases with manufacturer-approved fasteners.
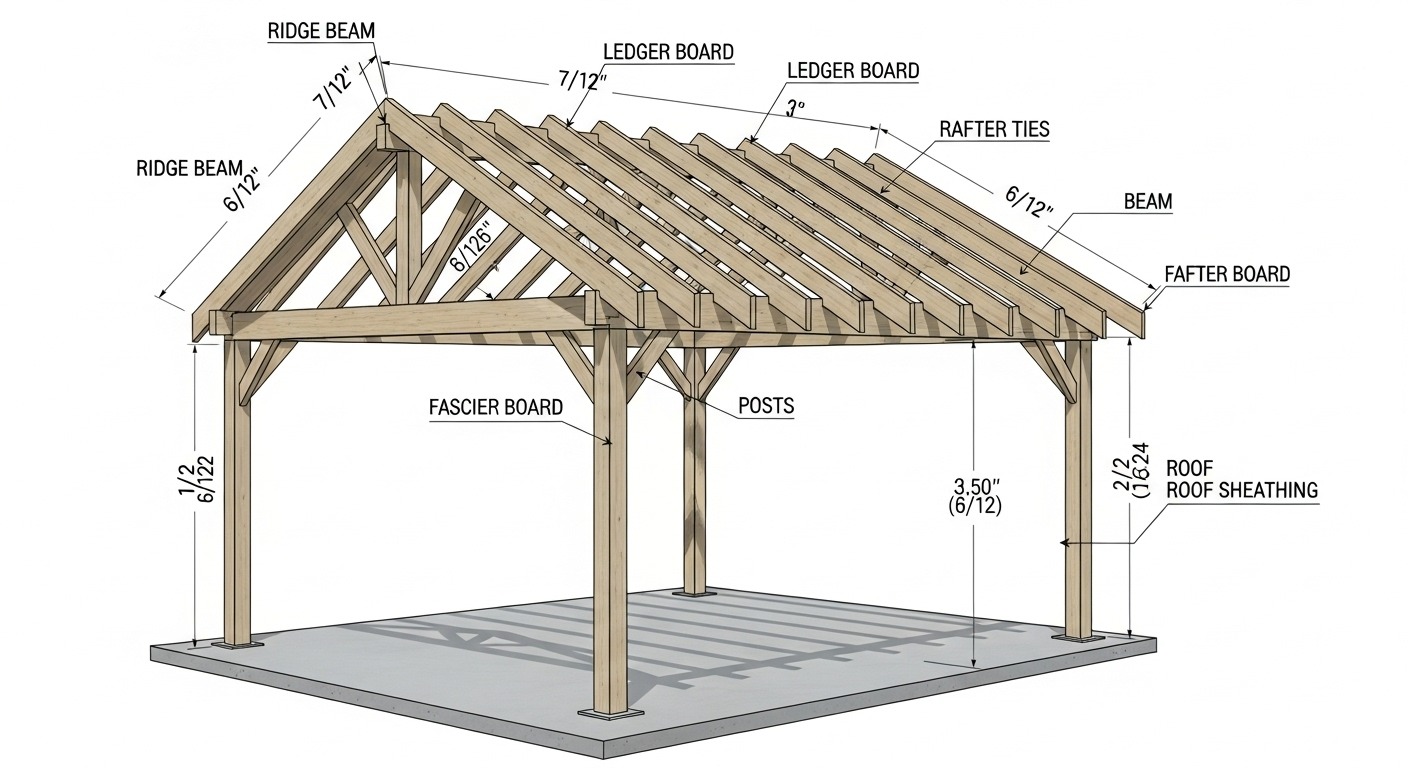
Step 3: Install the Ledger Board (For Attached Covers)
The ledger board transfers roof weight to your house.
Locate wall studs with a stud finder. Mark the ledger height so finished roof clears doors and windows comfortably.
Use a long level to draw a perfectly straight line. Flash the wall thoroughly—peel-and-stick membrane plus metal Z-flashing works best.
Lag-screw the ledger every 16 inches into studs. Many pros add construction adhesive for extra strength. Install bolts from inside the house if possible.
Step 4: Build and Raise the Main Beams
Beams carry the heaviest load in your gable patio cover.
Select straight, high-quality lumber or laminated beams. Sandwich beams work great—two 2×12s with ½-inch plywood in between create incredible strength.
Notch posts to accept beams or use beam hangers. Lift beams into place with help—never work alone on this step. Secure with structural screws or bolts.
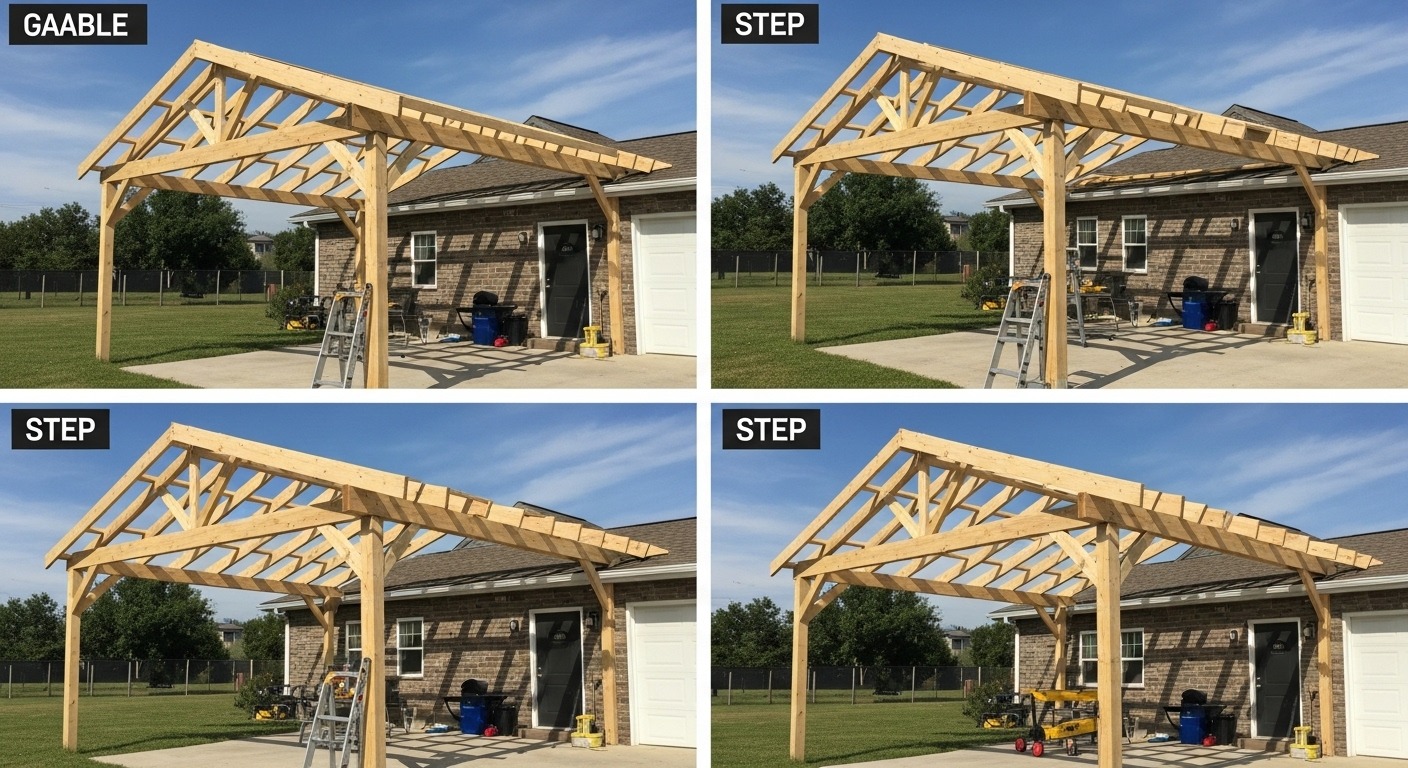
Step 5: Frame the Gable End Trusses or Rafters
This step creates the signature gable look.
You have two solid options: site-built rafters or pre-made trusses. Site-built gives total customization. Trusses save time and guarantee perfect geometry.
For rafters, cut a birdsmouth notch so they sit flush on the beam. Use a framing square to mark the plumb cut at the ridge. Install ridge board first, then fly rafters from each end.
Add collar ties every fourth rafter at about one-third down from the ridge. They prevent the roof from spreading under load.
Step 6: Add Lookouts and Gable End Overhangs
Lookouts create that beautiful boxed overhang.
Run horizontal 2×4 or 2×6 lookouts from the first interior rafter out to the fly rafter. Space them 24 inches on center. Nail or screw securely.
Cover the gable end with plywood or 1× tongue-and-groove for a finished appearance. Many homeowners love the classic look of exposed rafter tails too.
Step 7: Install Roof Sheathing and Underlayment
Solid sheathing ties everything together.
Use ⅝-inch CDX plywood or OSB. Start at the bottom edge and work up. Leave ⅛-inch gaps for expansion. Stagger seams and clip corners to prevent buckling.
Nail every 6 inches along edges and 12 inches in the field. Then roll out high-temperature underlayment or synthetic felt. Overlap seams generously.
Step 8: Shingle or Install Metal Roofing
Your patio cover now gets its weather shield.
For asphalt shingles, install drip edge first along eaves and rakes. Lay starter strips, then shingles following manufacturer layout. Use six nails per shingle in high-wind areas.
Metal roofing has grown hugely popular. Screw panels directly to plywood with neoprene washer screws. Overlap panels one full corrugation and seal laps with butyl tape.
Step 9: Add Soffit, Fascia, and Trim Details
Finishing touches make it look professional.
Install vented soffit panels for airflow—essential to prevent moisture buildup. Cover fascia with aluminum or PVC for zero maintenance.
Add corner boards and trim around gable ends. Caulk every joint carefully. Paint or stain exposed wood to match your house perfectly.
Step 10: Electrical, Fans, and Final Touches
Turn your covered patio into a true outdoor room.
Run wiring inside conduit if adding lights or fans. Hire a licensed electrician for the final connections—safety first.
Hang a ceiling fan centered on the ridge for maximum breeze. Install recessed cans or string lights for evening ambiance. Many families add outdoor speakers and a TV mount too.
Common Mistakes to Avoid
Even experienced builders slip up sometimes.
Never skip flashing—water finds every tiny gap. Always brace posts and beams while working. Double-check that rafters stay plumb before sheathing. Don’t ignore ventilation; trapped heat destroys roofs quickly.
Maintenance Tips for Longevity
A little care goes a long way.
Inspect twice a year—spring and fall. Clean gutters and remove debris from the valley areas. Re-seal metal roof screws every few years. Touch up paint on exposed wood immediately.
Related Topics: How to Soundproof a Door
Conclusion
You now hold the complete roadmap to build a gorgeous gable roof patio cover that will serve your family for decades. From digging footings to hanging the last light fixture, every step builds equity in your home and joy in your backyard.
Grab your tape measure, call a few friends for the heavy lifts, and start this weekend. Your future self—relaxing under that beautiful new roof—will thank you.
What are you waiting for? Pick your design, pull the permit, and create the outdoor oasis you’ve always wanted.
Read More Also: Structuring Your Dream House Plan
FAQs
How long does it take to build a gable roof patio cover?
A competent DIY team with two to four people typically finishes a 12×20 cover in 4–7 weekends. Weather and experience level affect timeline.
Do I need a building permit for a patio cover?
Almost always yes for attached structures or anything over 120 square feet. Check your local building department—fines for unpermitted work can exceed the entire project cost.
What is the best roof pitch for a gable patio cover?
A 5:12 pitch offers the sweet spot between looks, headroom, and water shedding. Shallower than 4:12 risks ponding; steeper than 7:12 complicates construction.
Can I build a gable roof patio cover myself?
Absolutely—thousands of homeowners do it every year. Basic carpentry skills, attention to safety, and willingness to follow plans make success very achievable.
What is the difference between a gable and hip roof patio cover?
A gable has two sloping sides and open triangular ends. A hip roof slopes on all four sides. Gable designs feel taller and brighter inside while hip roofs handle wind slightly better.
References
- U.S. Census Bureau – Characteristics of New Housing: https://www.census.gov/construction/chars/current.html
- International Residential Code (IRC) 2021 – Roof Assemblies
- American Wood Council – Prescriptive Residential Wood Deck Construction Guide
- Metal Roofing Alliance – Installation Guidelines


Post Comment