How to Check VTR Plumbing: A Step-by-Step Guide
Have you ever wondered how to check your VTR plumbing? Well, you’re in the right place. Plumbing is like the circulatory system of your home, and neglecting it can lead to costly issues down the road. But fear not, because today, we’re going to take you on a journey through the ins and outs of VTR plumbing inspection. We’ll break it down step by step, so even if you’re not a plumbing pro, you’ll be able to keep your plumbing in tip-top shape.
Step 1: Gather Your Tools
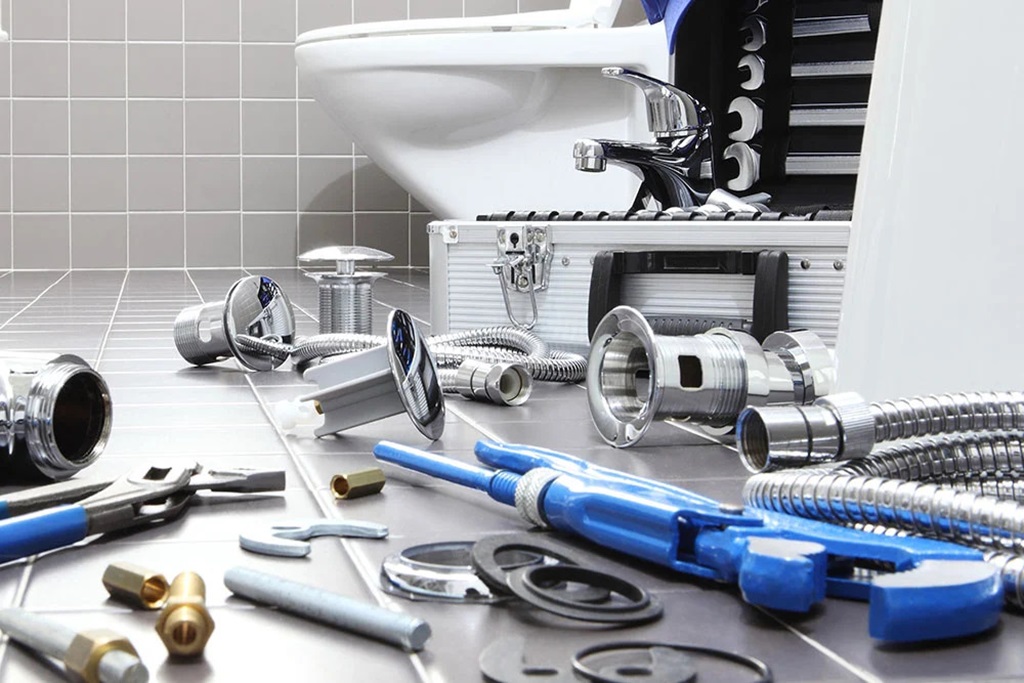
Before we dive into inspecting your VTR plumbing, you’ll need a few basic tools:
- Flashlight: For illuminating those dark corners under the sink and in the basement.
- Wrench: To tighten loose connections.
- Bucket or Towel: To catch any water drips or spills.
- Plunger: Just in case you run into any clogs.
- Gloves: Protect your hands from dirt and grime.
Now that you’re all geared up, let’s get started!
Step 2: Turn Off the Water Supply
Safety first, right? Find your main water shut-off valve, typically located near your water meter or in the basement. Turn it clockwise until it’s completely off. This step is crucial to prevent any accidental flooding while you’re inspecting your VTR plumbing.
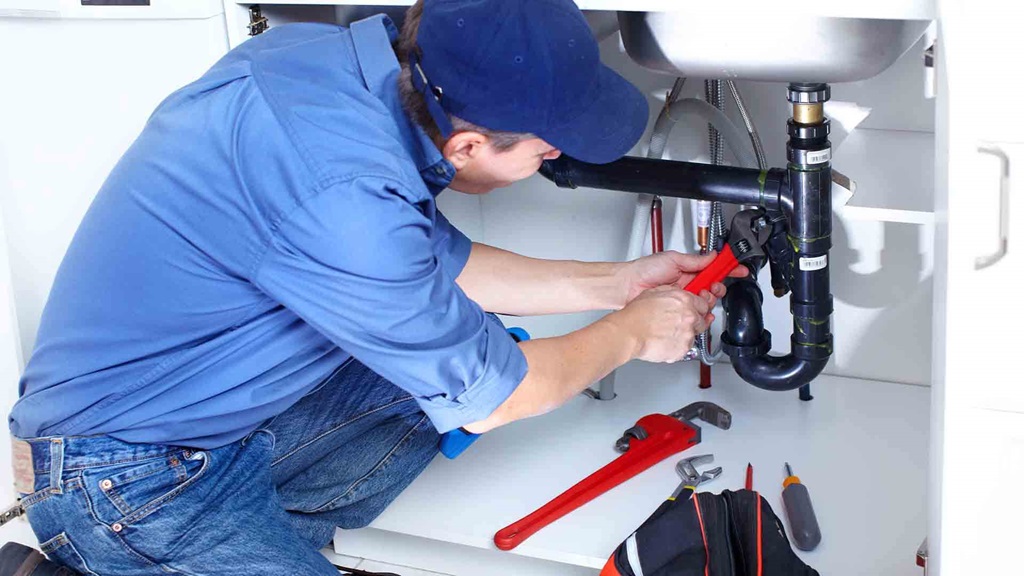
Step 3: Inspect the Visible Pipes
Start by examining the visible pipes in your home. These are usually found under sinks, behind toilets, and in the basement or crawl spaces. Here’s what you should look for:
- Leaks: Check for any signs of water leakage. Look for water droplets, damp spots, or mold growth.
- Corrosion: Inspect the pipes for signs of corrosion or rust. Corroded pipes can weaken and lead to leaks.
- Connections: Ensure all connections are secure and not loose. Use your wrench to tighten them if necessary.
- Insulation: Check if your pipes are properly insulated, especially in colder climates. Insulation helps prevent freezing and bursting during winter.
Remember, a small leak or corrosion might seem harmless now, but it can turn into a major headache later. Address any issues you find promptly.
Step 4: Check the Water Pressure
Water pressure matters. Low water pressure can be a sign of plumbing problems. Here’s how to test it:
- Turn on the Faucets: Start by turning on all the faucets in your home, both hot and cold.
- Flush Toilets: Flush all the toilets.
- Monitor the Pressure: Pay attention to the water pressure. Is it strong and consistent in all areas of your home? If you notice weak pressure in specific areas, it could indicate a blockage or a problem with the pipes leading to that area.
Step 5: Test Drains and Toilets
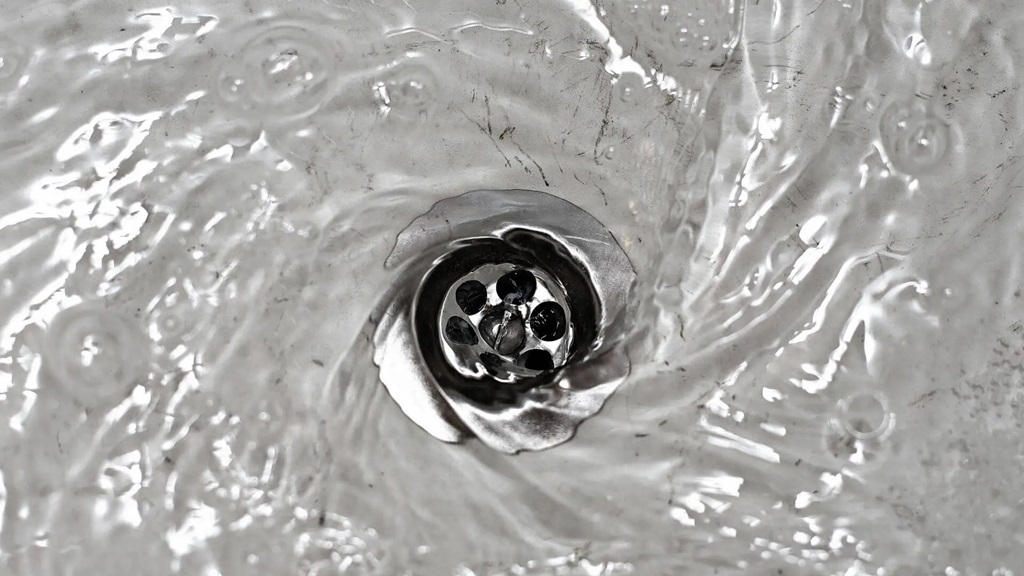
Now it’s time to put those drains and toilets to the test:
- Drains: Fill your sinks and tubs with water and then drain them. Watch for slow drainage, gurgling sounds, or water backups. These could be signs of clogs or pipe issues.
- Toilets: Flush all your toilets. Ensure they flush properly without any gurgling sounds. A toilet that frequently clogs or runs continuously may need attention.
If you encounter any issues with drainage or toilets, it’s a good idea to call in a professional plumber to investigate further.
Step 6: Inspect Water Heater
Your water heater plays a vital role in your plumbing system. Here’s what to look for:
- Leaks: Check for any water pooling around the base of the water heater. Even a small leak can lead to big problems.
- Temperature: Test the water temperature. Is it too hot or not hot enough? Adjust the temperature setting if needed.
- Age: Note the age of your water heater. Most water heaters have a lifespan of around 10-15 years. If it’s older and showing signs of wear, consider replacing it before it fails.
Step 7: Check for Unusual Noises
Your plumbing system should run quietly. Listen for any unusual sounds like banging, clanking, or hissing. These noises can be indicators of water hammer, loose pipes, or high water pressure. Addressing these issues early can save you from costly repairs down the line.
Step 8: Inspect the Sewer Line
While this step might sound a bit more involved, it’s crucial to prevent major plumbing disasters. You can do a basic inspection by:
- Checking the Cleanout Cap: Locate your sewer cleanout cap, usually found in your yard or basement. Ensure it’s in place and not damaged.
- Flush Toilets: Flush multiple toilets simultaneously. If you notice water bubbling up from the cleanout cap, it could indicate a blockage or a damaged sewer line.
Remember, a damaged sewer line can lead to sewage backups in your home, which is a nightmare you want to avoid at all costs. If you suspect an issue, it’s best to call a professional plumber for a thorough inspection.
Step 9: Look for Water Stains
Inspect your ceilings, walls, and floors for water stains. Water stains are often a sign of hidden leaks in your plumbing system. If you find any, it’s essential to pinpoint the source and address it promptly. Ignoring water stains can lead to structural damage and mold growth.
Step 10: Check for Signs of Hard Water
Hard water can wreak havoc on your plumbing fixtures and appliances. Look for the following signs:
- Scale Buildup: Check faucets, showerheads, and appliances like dishwashers and water heaters for scale buildup. It appears as a white, chalky residue.
- Reduced Appliance Efficiency: If your appliances aren’t running as efficiently as they used to, hard water may be the culprit.
- Dry Skin and Hair: If you notice your skin and hair feeling dry and rough, it could be due to hard water.
Installing a water softener can help combat the effects of hard water and extend the life of your plumbing system.
Step 11: Test the Sump Pump
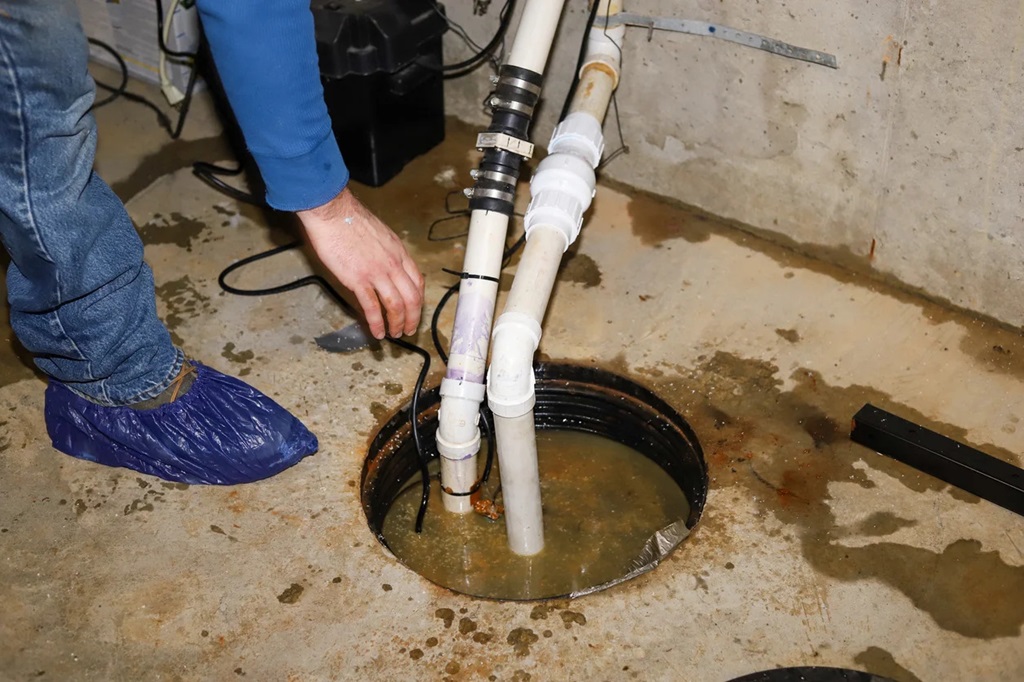
If you have a sump pump in your basement to prevent flooding, it’s essential to make sure it’s working correctly. Here’s how to test it:
- Fill the Sump Pit: Pour water into the sump pit until the float rises and activates the pump.
- Monitor Operation: Ensure the sump pump turns on, pumps the water out, and turns off properly.
A malfunctioning sump pump can leave your basement vulnerable to flooding during heavy rains, so regular testing is crucial.
Step 12: Document Your Findings
As you go through each step of the inspection, take notes or photos of any issues you find. This documentation will be helpful if you decide to consult a plumber for repairs or maintenance. It’s also a great way to track the condition of your plumbing system over time.
Step 13: Turn the Water Supply Back On
Once you’ve completed your inspection and are satisfied with the results, turn the main water supply back on. Slowly open the valve to avoid a sudden surge of water. Check for any leaks around the valve and at the faucets as the water flows back into your plumbing system.
Step 14: Schedule Regular Maintenance
Congratulations, you’ve completed your VTR plumbing inspection! But don’t let it stop here. Regular maintenance is key to keeping your plumbing in excellent condition. Consider scheduling annual check-ups with a professional plumber to address any issues you may have missed and ensure your plumbing system remains trouble-free.
Frequently Asked Questions (FAQs)
How often should I inspect my VTR plumbing?
It’s a good practice to inspect your plumbing at least once a year. However, if you notice any unusual signs like leaks, low water pressure, or strange noises, don’t wait – inspect your plumbing right away.
Can I do plumbing repairs myself?
Homeowners can do simple tasks like tightening loose connections or replacing a faucet washer with some DIY skills. However, for complex issues or anything you’re unsure about, it’s best to hire a professional plumber to avoid making the problem worse.
What should I do if I find a water leak during the inspection?
If you discover a water leak, turn off the water supply immediately and try to contain the leak with a bucket or towel. Then, contact a plumber to assess and repair the issue.
Is it essential to insulate my pipes?
Insulating pipes is crucial, especially in colder climates, to prevent freezing and bursting. Proper insulation can save you from costly repairs and water damage.
What’s the lifespan of a typical water heater?
Most water heaters have a lifespan of around 10-15 years. However, regular maintenance can extend its life. If your water heater is older and showing signs of trouble, consider replacing it before it fails.


Post Comment