
Well Pump Priming Steps for First-Time Users
Priming a well pump is a crucial task for homeowners relying on a private well for their water supply. For first-time users, the process can seem daunting, but it’s straightforward with the right guidance. This article from Home Decorations Tips breaks down the steps to prime a well pump pressure tank, ensuring your system runs smoothly. Whether you’re dealing with a new installation or a pump that’s lost its prime, this guide simplifies the process with clear instructions.
Understanding Well Pump Priming
Priming a well pump involves filling the pump and its suction line with water to create the pressure needed to draw water from the well. Without proper priming, the pump can’t function effectively, leading to low water pressure or no water at all. For beginners, knowing how to prime a well pump pressure tank is essential to maintain a steady water supply. For a detailed guide, check out this helpful resource from Home Decorations Tips, which offers step-by-step advice tailored to homeowners.
Why Priming Is Necessary
Well pumps rely on water pressure to operate. When air enters the system—due to a dry well, a new installation, or maintenance—the pump loses its ability to pull water. Priming removes air and fills the system with water, restoring functionality. Additionally, regular priming can prevent damage to the pump, extending its lifespan. Neglecting this step may cause the pump to overheat or fail, leading to costly repairs.
Tools and Materials Needed
Before starting, gather the necessary tools and materials. Having everything ready saves time and ensures a smooth process. Here’s what you’ll need:
- A clean bucket or container
- A garden hose or water source
- A wrench or screwdriver (depending on your pump’s access points)
- A priming plug or cap (if not already installed)
- Clean, potable water
Ensure the water used for priming is clean to avoid contaminating your well system. Check your pump’s manual for specific requirements, as some models may need additional tools.
Step-by-Step Guide to Priming a Well Pump
Follow these steps to prime your well pump pressure tank effectively. Each step is designed to be simple, even for first-time users.
Step 1: Turn Off the Power
Safety comes first. Turn off the power to the well pump at the breaker box to prevent electrical hazards. Confirm the pump is off by checking that it’s not running. This step protects you and the equipment during the priming process.
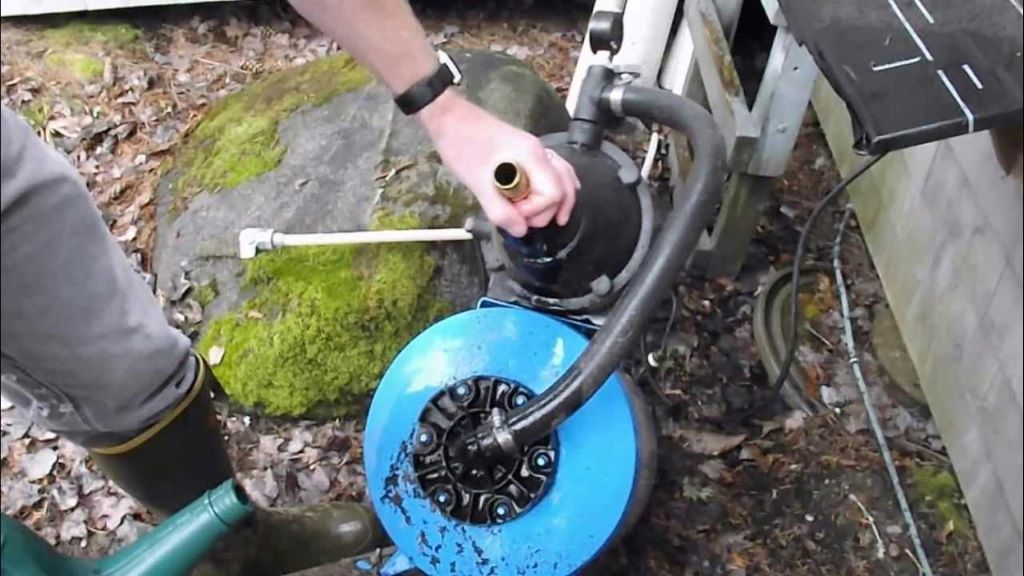
Step 2: Locate the Priming Plug
Find the priming plug or port on your pump. It’s usually a small cap or bolt near the top of the pump housing. Refer to your pump’s manual if you’re unsure of its location. Some pumps have multiple ports, so choose the one designated for priming.
Step 3: Prepare the Water Source
Fill a clean bucket or container with water. If possible, use a garden hose connected to a clean water source for easier filling. Ensure the water is free of debris, as contaminants can damage the pump or clog the system.
Step 4: Remove the Priming Plug
Using a wrench or screwdriver, carefully remove the priming plug. Place it in a safe spot to avoid losing it. Some water may spill out, so keep a rag handy to clean up any mess.
Step 5: Fill the Pump with Water
Pour water into the priming port slowly until the pump housing and suction line are full. You may need several gallons, depending on the pump’s size and the length of the suction line. Stop pouring when water overflows from the port, indicating the system is full.
Step 6: Replace the Priming Plug
Securely replace the priming plug, ensuring it’s tight to prevent air leaks. Use a wrench to tighten it, but avoid over-tightening, which could damage the threads.
Step 7: Turn On the Power
Restore power to the pump by switching on the breaker. Listen for the pump to start running. It may take a few minutes for the system to build pressure and begin pumping water.
Step 8: Check for Proper Operation
Open a faucet connected to the well system to check for water flow. Initially, you may see air or sputtering water, which is normal as the system clears remaining air. If water flows steadily, the pump is primed. If not, repeat the priming process.
Common Priming Issues and Solutions
Sometimes, priming doesn’t go as planned. Here are common issues and how to address them:
- Air Leaks: Check for loose fittings or damaged seals in the suction line. Tighten connections or replace faulty parts.
- Low Water Flow: Ensure the well has enough water. A dry well requires refilling before priming can succeed.
- Pump Won’t Prime: Verify the suction line is free of blockages. Debris or sediment can prevent proper priming.
For persistent issues, consult a professional or refer to resources like This Old House for troubleshooting tips.
Maintenance Tips to Prevent Priming Problems
Regular maintenance reduces the need for frequent priming. Inspect your pump and pressure tank annually for leaks or wear. Keep the suction line clear of debris and ensure the well has an adequate water supply. Additionally, monitor the pressure tank’s settings to maintain optimal performance. A well-maintained system operates efficiently and requires less frequent priming.
When to Call a Professional
While priming is a manageable task for most homeowners, some situations require expert help. If the pump repeatedly loses its prime or fails to draw water after multiple attempts, there may be a deeper issue, such as a damaged impeller or a failing pressure tank. Contact a licensed plumber or well technician to diagnose and fix complex problems. Websites like Bob Vila offer insights into when professional intervention is necessary.
Conclusion
Priming a well pump pressure tank is a simple yet essential skill for first-time users. By following the steps outlined—turning off the power, filling the pump with water, and checking for proper operation—you can ensure a reliable water supply. Regular maintenance and prompt troubleshooting further enhance your system’s longevity. With practice, priming becomes a quick task that keeps your well pump running smoothly.
Frequently Asked Questions
- How often should I prime my well pump?
Priming is only needed when the pump loses its prime, such as after maintenance or a power outage. Regular maintenance minimizes the need for frequent priming.
- Can I use any water to prime my pump?
Use clean, potable water to avoid contaminating the system. Avoid using water with debris or chemicals.
- What happens if I don’t prime my well pump?
Without priming, the pump can’t draw water, leading to low pressure or no water flow. It may also overheat, causing damage.
- How do I know if my pump is primed correctly?
Steady water flow from a faucet indicates successful priming. Sputtering or no water suggests air is still in the system.
- Can I prime a pump without a priming plug?
Some pumps lack a priming plug. In such cases, consult the manual for alternative priming methods, such as filling the suction line directly.
Read More:
Mandatory Electrical Testing for Landlords: Your Essential Guide


Post Comment