
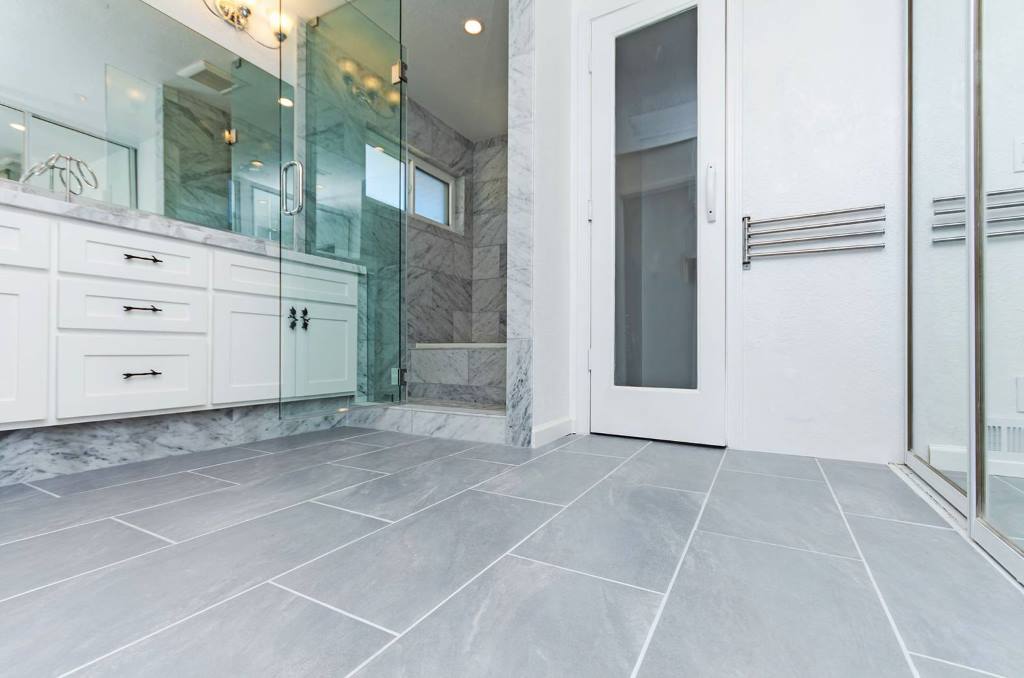
DIY Hot Mop Shower: The Ultimate Guide to Professional Waterproofing on a Budget
Picture this: you step into your beautifully renovated shower, only to discover water damage creeping through your walls six months later. This nightmare scenario affects thousands of homeowners who skip proper waterproofing during their bathroom renovation. The solution? A hot mop shower installation that creates an impenetrable barrier against moisture infiltration.
Hot mopping represents one of the most reliable waterproofing methods available, traditionally performed by professional contractors. However, with the right knowledge, tools, and patience, ambitious DIY enthusiasts can tackle this project and save thousands of dollars while achieving professional-grade results.
What Is Hot Mopping and Why Use It for Your Shower?
Hot mopping uses hot asphalt and roofing felt to make a waterproof layer. This method has kept buildings dry for over 100 years. It’s perfect for showers. Unlike other systems, hot mopping creates a seamless barrier that fits any shower shape. The hot asphalt fills every gap, ensuring no leaks.
Hot mopping lasts 20-30 years. It sticks well to surfaces and resists cracks. This makes it a smart choice for long-lasting shower protection.
Tools and Materials You Need for DIY Hot Mop
You’ll need a hot mop kettle to heat asphalt to 400-450°F. Rent one from a construction supplier. Get 15-pound roofing felt, 50-pound asphalt blocks, and safety gear like heat-resistant gloves, safety glasses, and long sleeves. Ventilation gear is a must.
Other tools include a roofing mop or squeegee, utility knives, measuring tape, chalk lines, and metal ladles. Renting pro-grade tools saves money for a one-time job.
How to Prep Your Shower for Hot Mopping
Good prep is key to success. Check that your shower framing meets building codes. Ensure the subfloor is level, solid, and free of old waterproofing. Set up your shower drain and plumbing before starting. The drain must be secure, as changes are hard later.
Clean the shower area well to remove dust and debris. Dirt can weaken the waterproof layer. Focus on corners and plumbing spots. Create a 1/4-inch-per-foot slope toward the drain so water flows right and doesn’t pool.
Step-by-Step Guide to Hot Mop Installation
Heat the asphalt in the kettle as directed. Keep it at the right temperature—too hot is dangerous, too cool won’t stick. Start with the shower pan. Spread a thin, even layer of asphalt. Work fast but carefully for full coverage, especially around the drain.
Lay roofing felt over the hot asphalt, pressing it down to remove air bubbles. Overlap felt seams by 2 inches and extend it up the walls. Add more asphalt and felt layers—usually three felt layers and four asphalt layers. Ensure each layer sticks well before adding the next.
Finish with smooth transitions at walls using cant strips or troweled asphalt to avoid weak spots.
Common Mistakes to Avoid When Hot Mopping
Temperature control is critical. Too-hot asphalt can catch fire or make harmful fumes. Too-cool asphalt won’t stick. Always monitor the kettle and keep the area ventilated. Poor prep, like leaving dirt or moisture, can cause leaks. Clean surfaces well.
Don’t rush. Uneven asphalt or wrinkled felt can ruin the seal. Take time to apply layers evenly. Wrong slopes can lead to pooling water, which stresses the system. Double-check slopes before starting.
Safety Tips for Hot Mopping
Hot asphalt is dangerous. Wear protective gear and keep the area well-ventilated to avoid fumes. Have fire extinguishers nearby and never leave the kettle alone. Plan your steps to limit time near hot materials. Stage tools and materials ahead of time. A partner can help with safety and handling.
Check local building codes and permits. Some areas require pro installation or inspections for hot mop systems.
Explore Now:
- Well Pump Priming Steps for First-Time Users
- Ducane Air Conditioner Reviews: Real User Feedback & Expert Insights
- What Happens If Lightning Strikes Your Roof?
Finishing Your Hot Mop Shower
Protect the finished membrane with plywood to avoid damage during other work. Test for leaks by filling the shower pan to the curb and letting it sit for 24 hours. Watch for any water escape. Seal any new holes from fixtures or tiles to keep the membrane strong.
Cost of DIY vs. Professional Hot Mop Installation
Pro hot mopping costs $800-1,500 per shower. DIY costs $200-400 for materials and rentals, saving a lot. But consider your time and the risk of errors. Pros offer experience and warranties. Start with a small shower to practice before bigger projects.
How to Maintain Your Hot Mop Shower
A good hot mop system needs little upkeep. Check caulk around fixtures and doors yearly and reseal as needed. Look for loose tiles, musty smells, or water stains. Fix small issues early to avoid big repairs. A well-done hot mop lasts 20-30 years.
Conclusion: Get Pro Results with DIY Hot Mopping
DIY hot mopping saves money and builds skills while giving your shower long-lasting protection. It takes planning, the right tools, and care. Though challenging, the results are worth it. Your shower will stay leak-free for decades.
Start your project with our material checklist and safety guide. Contact rental companies for a hot mop kettle. Take the first step to a waterproof shower today!
FAQs
What is hot mopping for showers?
Hot mopping uses hot asphalt and roofing felt to create a waterproof layer in showers, preventing leaks.
How long does a hot mop shower last?
A properly installed hot mop shower lasts 20-30 years with minimal maintenance.
Can I do hot mopping myself?
Yes, with the right tools, safety gear, and careful steps, DIY hot mopping is possible for skilled homeowners.
What tools do I need for DIY hot mopping?
You need a hot mop kettle, roofing felt, asphalt, safety gear, a roofing mop, utility knives, and measuring tools.
How much does DIY hot mopping cost?
DIY hot mopping costs $200-400 for materials and rentals, compared to $800-1,500 for professional work.


Post Comment